1. 개요
얼마 전 맑 님께서 yum을 이용한 PHP 설치를 설명해 주셔서 큰 도움이 되었습니다. 오늘은 패키지 설치가 아니라 소스 컴파일을 이용한 설치를 설명드릴까 합니다.
아래 내용은 PHP 5.5.11을 기준으로 작성한 기록입니다. 현재 운영 환경에 그대로 적용하기보다는, 당시 버전의 컴파일 절차와 오류 해결 과정을 참고하는 용도로 보시면 좋겠습니다.
2. 설치
2-1. 소스 다운로드
PHP 소스는 php.net 사이트에서 다운로드하면 됩니다. 저는 5.5.11을 선택했습니다.
(http://kr1.php.net/downloads.php)
2-2. configure
먼저 설치 경로와 Apache HTTP Server 연동을 위한 apxs 경로를 지정해 configure를 실행합니다.
./configure \
  --prefix=/home/php5 \
  --with-apxs2=/home/apache22/bin/apxs


Configuring extensions
checking size of long... (cached) 8
checking size of int... (cached) 4
checking for int32_t... yes
checking for uint32_t... yes
checking for sys/types.h... (cached) yes
checking for inttypes.h... (cached) yes
checking for stdint.h... (cached) yes
checking for string.h... (cached) yes
checking for stdlib.h... (cached) yes
checking for strtoll... yes
checking for atoll... yes
checking for strftime... (cached) yes
checking which regex library to use... php
checking whether to enable LIBXML support... yes
checking libxml2 install dir... no
checking for xml2-config path...
configure: error: xml2-config not found. Please check your libxml2 installation.
역시 난관이 존재합니다.
결론은 libxml2-devel을 설치해야 한다는 것입니다. libxml2만으로는 부족합니다.
물론 libxml2만 설치되어 있는 경우도 아래처럼 확인될 수 있습니다.
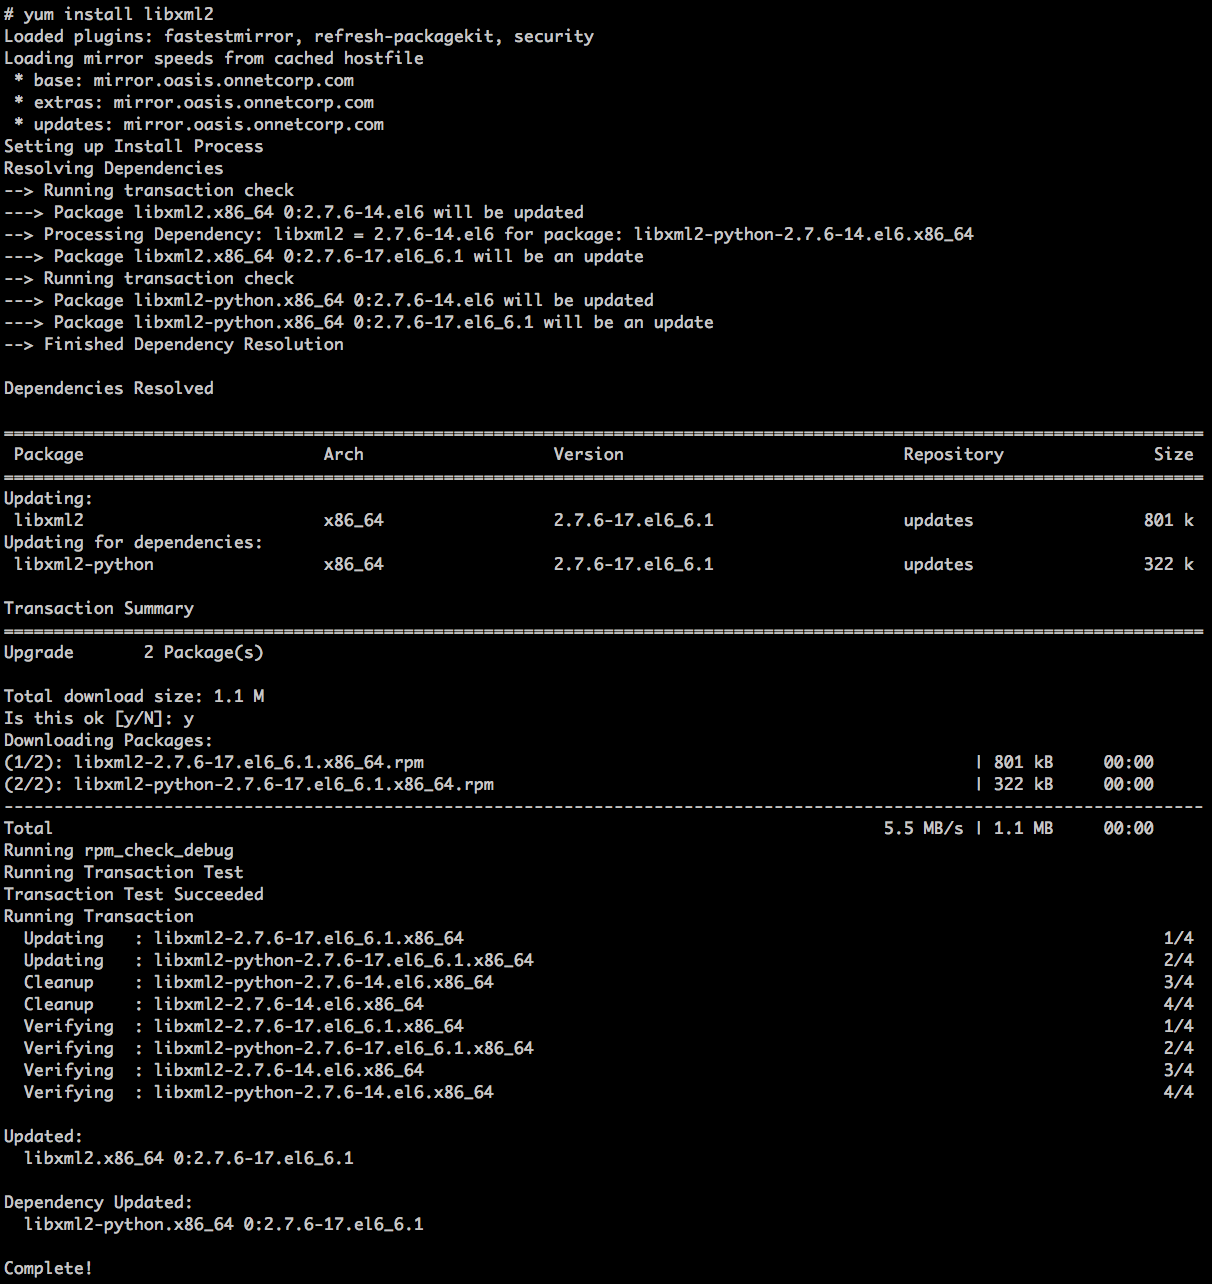
참고로 libxml2는 XML parsing을 위한 도구입니다. devel 패키지는 보통 컴파일에 필요한 header와 library, 그리고 xml2-config 같은 개발용 파일을 포함합니다.
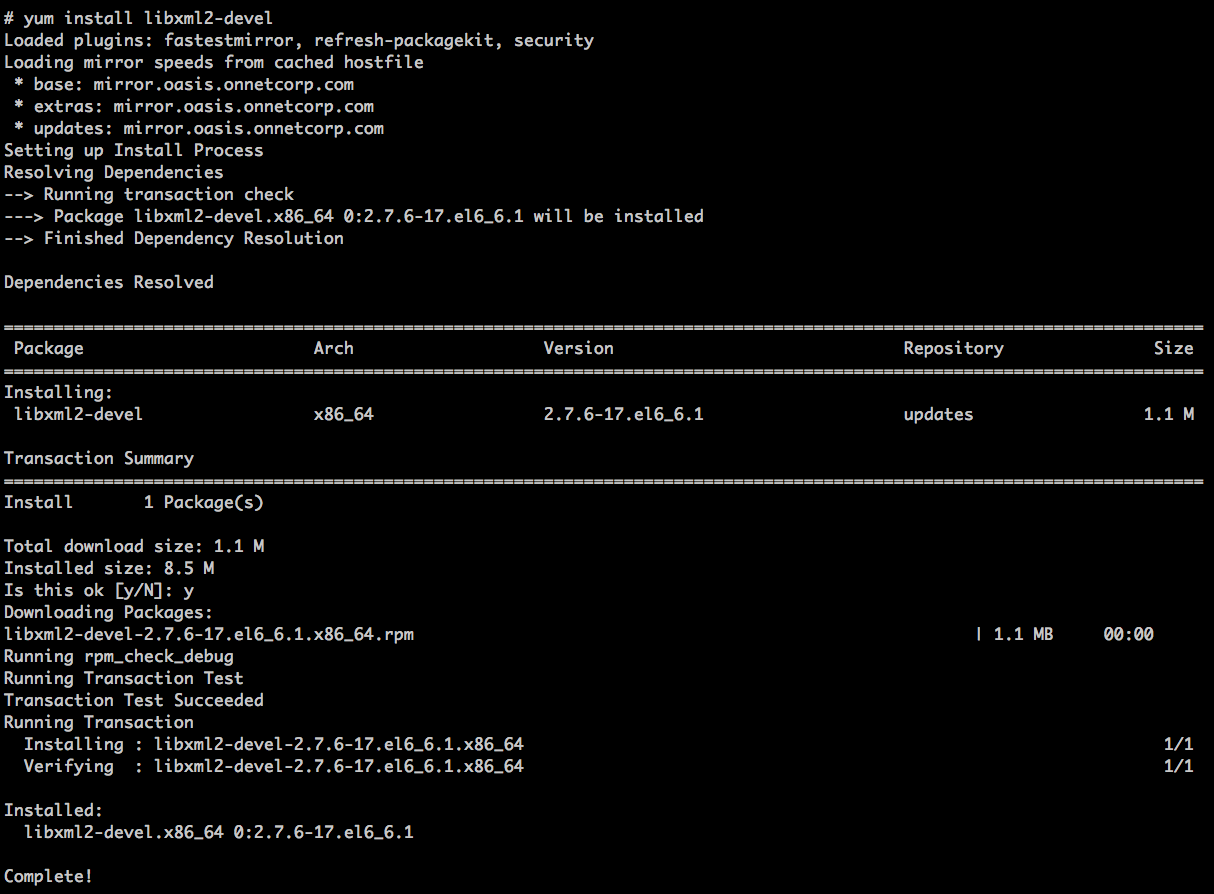
설치 후 다시 한 번 configure를 실행해 봅니다.
......
Generating files
configure: creating ./config.status
creating main/internal_functions.c
creating main/internal_functions_cli.c
+--------------------------------------------------------------------+
| License:                                                           |
| This software is subject to the PHP License, available in this     |
| distribution in the file LICENSE.  By continuing this installation |
| process, you are bound by the terms of this license agreement.     |
| If you do not agree with the terms of this license, you must abort |
| the installation process at this point.                            |
+--------------------------------------------------------------------+

Thank you for using PHP.

config.status: creating php5.spec
config.status: creating main/build-defs.h
config.status: creating scripts/phpize
config.status: creating scripts/man1/phpize.1
config.status: creating scripts/php-config
config.status: creating scripts/man1/php-config.1
config.status: creating sapi/cli/php.1
config.status: creating sapi/cgi/php-cgi.1
config.status: creating ext/phar/phar.1
config.status: creating ext/phar/phar.phar.1
config.status: creating main/php_config.h
config.status: executing default commands
위처럼 config.status가 생성되고 마지막에 default commands 실행까지 끝나면 다음 단계로 넘어갈 수 있습니다.
2-3. make
저는 테스트 환경이 열악해서인지 시간이 조금 걸렸습니다.
특이사항이 없다면 다음과 같이 정상 종료될 듯합니다.
......

Generating phar.php
Generating phar.phar
PEAR package PHP_Archive not installed: generated phar will require PHP's phar extension be enabled.
clicommand.inc
invertedregexiterator.inc
directorygraphiterator.inc
pharcommand.inc
directorytreeiterator.inc
phar.inc

Build complete.
Don't forget to run 'make test'.
마지막 메시지처럼 필요하다면 make test로 빌드 결과를 확인할 수 있습니다. 테스트는 시간이 꽤 걸릴 수 있고, 환경에 따라 일부 테스트가 실패할 수도 있으니 운영 환경에서는 결과를 확인한 뒤 설치를 진행하는 편이 좋습니다.
2-4. make install
역시 특이사항이 없다면 다음과 같이 끝나게 됩니다.
[PEAR] Archive_Tar    - installed: 1.3.11
[PEAR] Console_Getopt - installed: 1.3.1
warning: pear/PEAR requires package "pear/Structures_Graph" (recommended version 1.0.4)
warning: pear/PEAR requires package "pear/XML_Util" (recommended version 1.2.1)
[PEAR] PEAR           - installed: 1.9.4
Wrote PEAR system config file at: /home/php5/etc/pear.conf
You may want to add: /home/php5/lib/php to your php.ini include_path
[PEAR] Structures_Graph- installed: 1.0.4
[PEAR] XML_Util       - installed: 1.2.1
/Downloads/php/php-5.5.11/build/shtool install -c ext/phar/phar.phar /home/php5/bin
ln -s -f /home/php5/bin/phar.phar /home/php5/bin/phar
Installing PDO headers:          /home/php5/include/php/ext/pdo/
설치 후에는 /home/php5/bin/php -v처럼 설치한 경로의 PHP 실행 파일을 직접 호출해 버전이 출력되는지 확인할 수 있습니다.
2-5. Apache HTTP Server 설정
Apache의 httpd.conf에 아래 내용을 추가해야 합니다.
# PHP settings
LoadModule php5_module  modules/libphp5.so
AddType application/x-httpd-php .php
--with-apxs2 옵션으로 빌드했기 때문에 Apache 모듈 형태로 PHP를 적재하는 방식입니다. 설정을 변경한 뒤에는 Apache 설정 문법을 확인하고 재시작해야 실제로 반영됩니다.
간단한 확인용으로는 웹 문서 루트에 PHP 파일을 하나 만들고 다음 내용을 넣어 브라우저에서 호출해 볼 수 있습니다.
<?php
phpinfo();
?>
2-6. php.ini
만일 특정 위치에서 php.ini 파일을 관리하고 싶다면 configure 시에 다음 옵션을 추가해야 합니다.
./configure \
  --prefix=/home/php5 \
  --with-config-file-path=/home/php5/conf
하지만 /home/php5/conf 아래에 자동으로 php.ini가 생성되지는 않습니다.
php.ini 파일은 PHP 설치 파일 내의 다음 파일들 중 하나를 선택하여 복사하면 됩니다.
php.ini-productionphp.ini-development
그런데 위 두 파일 중 어느 파일이라도 php.ini로 설정하게 되면 <? ?>와 같은 짧은 태그는 더 이상 사용할 수 없게 됩니다.
; This directive determines whether or not PHP will recognize code between
; <? and ?> tags as PHP source which should be processed as such. It is
; generally recommended that <?php and ?> should be used and that this feature
; should be disabled, as enabling it may result in issues when generating XML
; documents, however this remains supported for backward compatibility reasons.
; Note that this directive does not control the <?= shorthand tag, which can be
; used regardless of this directive.
; Default Value: On
; Development Value: Off
; Production Value: Off
; http://php.net/short-open-tag
short_open_tag = Off
short_open_tag를 On으로 설정해야 <? ?> 태그를 사용할 수 있습니다. 다만 새로 작성하는 코드라면 호환성을 위해 <?php ?> 형식을 사용하는 편이 안전합니다.